No items found.
No items found.

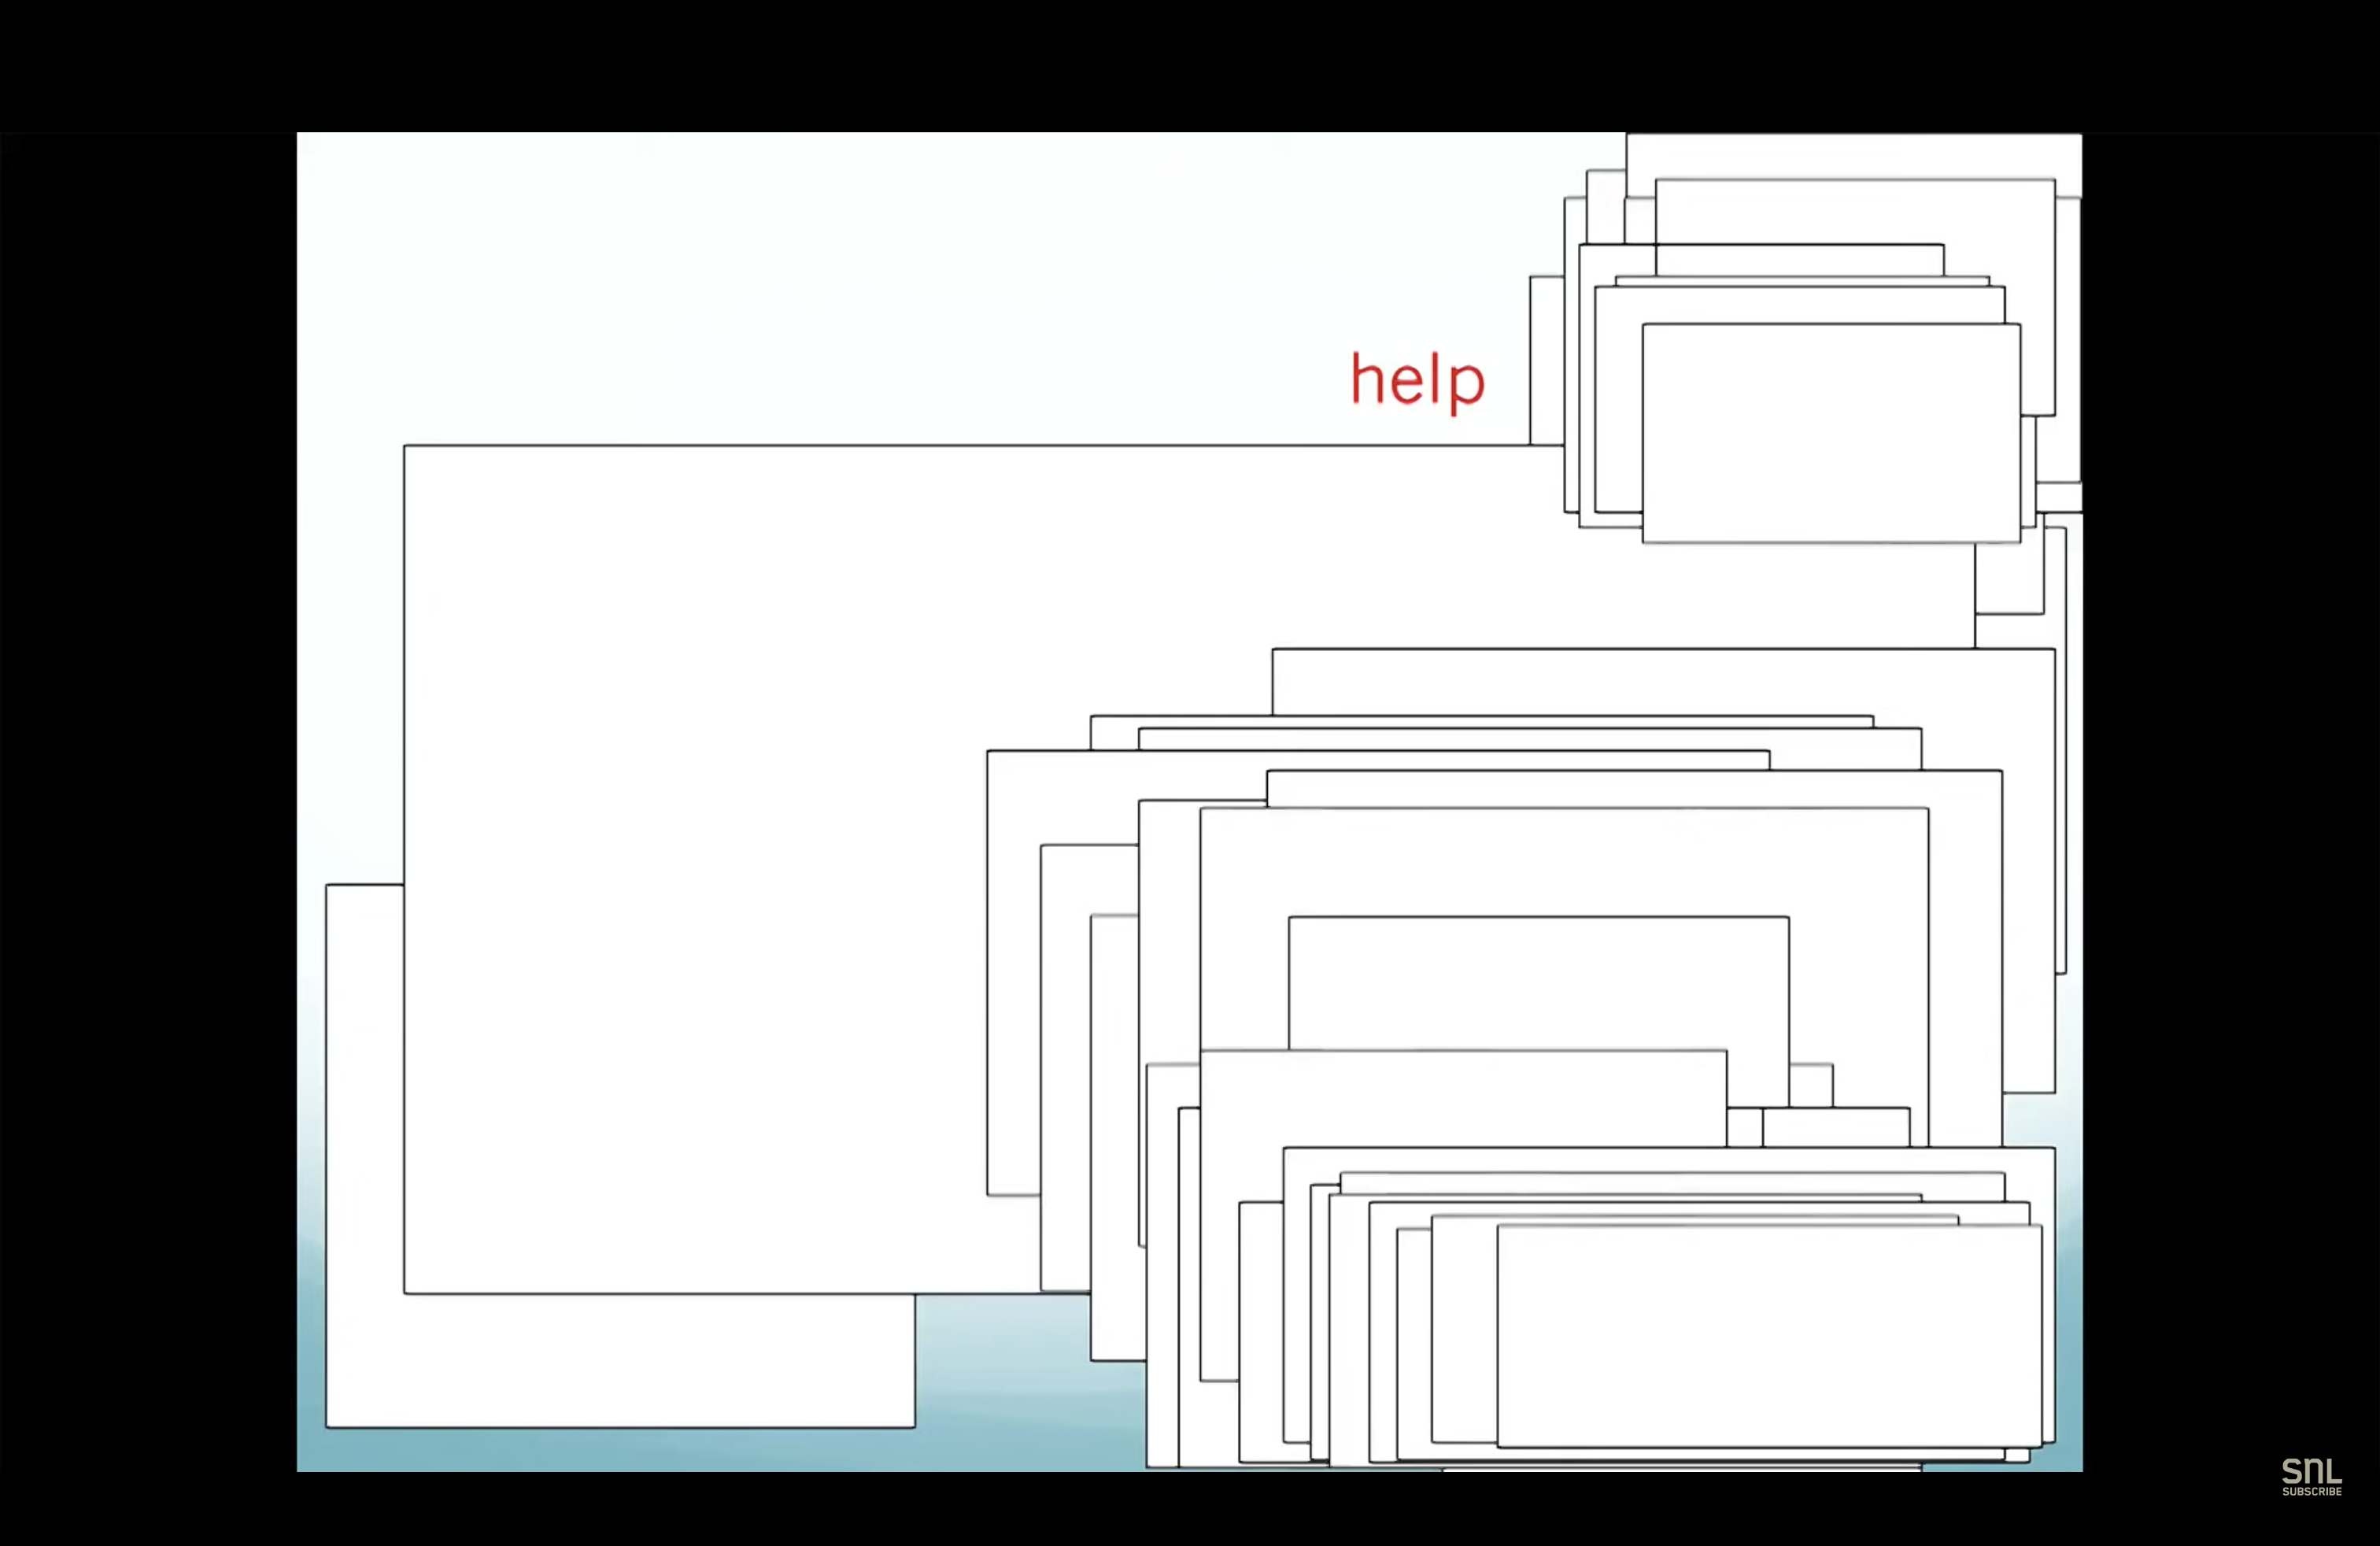
Feeling a little lost while creating your presentation? You’re not alone.
In this SNL sketch we see two receptionists, Henriette and Nan (played by Kate McKinnon and Aidy Bryant), struggle to build their PowerPoint presentation during a Microsoft workshop.
We know this sketch is an exaggeration purely meant for fun, but Henriette and Nan share a feeling that many of us can relate to: Building PowerPoint presentations is tough.
So, if you're finding yourself feeling like Henriette and Nan, use these tools from our Prezent Guides to help supercharge your slides! ⚡️
An effective slide design can clarify the meaning of an idea or message and help you better engage with your audience. At Prezent, we've assessed over 1 million slides from our customers' presentations. With that data, we’ve found that there are 3 main types of slide designs that stand out above the rest.
Data is crucial to almost every presentation—but add too much of it and you run the risk of overloading your audience or losing their attention.
Adding images and photos to your presentation can greatly help your audience when it comes to absorbing information and key facts. But too many images can distract from the main points you want to convey. Here are 3 ways you can use images in presentations—the right way.

Build presentations faster with PowerPoint shortcuts. Here are 7 timesavers used by experts:
There are more than 450 different tools and features offered in PowerPoint. But here are the 5 hacks most commonly used by design pros.
1. Build a quick access toolbar. PowerPoint allows you to build and customize your own toolbar to make easy changes to text, images, and layouts.

Add your favorite commands to the toolbar by clicking the white downward-facing triangle above the Ribbon tab, then click More Commands.
2. Power up with PowerPoint Add-ins. PowerPoint offers a variety of free and paid add-ins that can help bring your presentation to the next level. You can search through the entire library in the Microsoft Store.
3. Use elbow connectors to draw arrows. Use PowerPoint’s elbow connector feature to draw arrows or join objects on your slides quickly. Elbow connectors automatically snap to the center of an object to save you time and can be formatted in different colors and sizes.
4. Include screen captures. PowerPoint has an inbuilt screen capture tool so you can record your screen and easily import it to a slide. Adding screenshots to a presentation can be an effective way to illustrate a specific scenario or example.
5. Snap to grid. The snap-to-grid tool is a fast way to center objects throughout your slides. To access this tool, click on the View tab and select Grid settings. When you turn on Snap to Grid, your slides will show background lines to help align objects.
Professional and beautiful slide design can take hours—but it doesn't have to with Prezent.